
Images are very important for enhancing your blog posts in WordPress.
You can increase the unique visitors to a single blog post simply by adding an image and making it more appealing. Most web readers are accustomed to seeing images on a page and want that extra appeal in order to start reading.
So, how do you add images to your blog posts in WordPress? There are three really simple ways to do this. I’ll walk you through each process step by step.
How To Add Images To Your WordPress Blog Posts
Uploading Image Files
Log into WordPress and click “Add New Post.”
After writing your blog post, click where you want to place your image and then click the “Add Media” button above the Write block in WordPress. You’ll get a popup box with several options. You’ll click the “Upload Files” option and follow these steps:
- Click the “Select Files” button.
- Find the folder on your computer’s hard drive where the image is located.
- Click on the image you want to upload and then click “Open”.
- Wait for the image to upload then change the Title to something that will be more SEO-specific for your blog post.
- Add Alt Text.
- If you want an image caption, write a Caption for the image.
- Align the image and choose where you want the image link to point to (if you want the image clickable).
- Select an image size.
- Click the “Insert into post” button.

If necessary, you can edit the image by clicking the Edit Image link at the top of the popup box. I’ve added instructions for that process at the bottom of this blog post.
Adding an Image via the Media Library
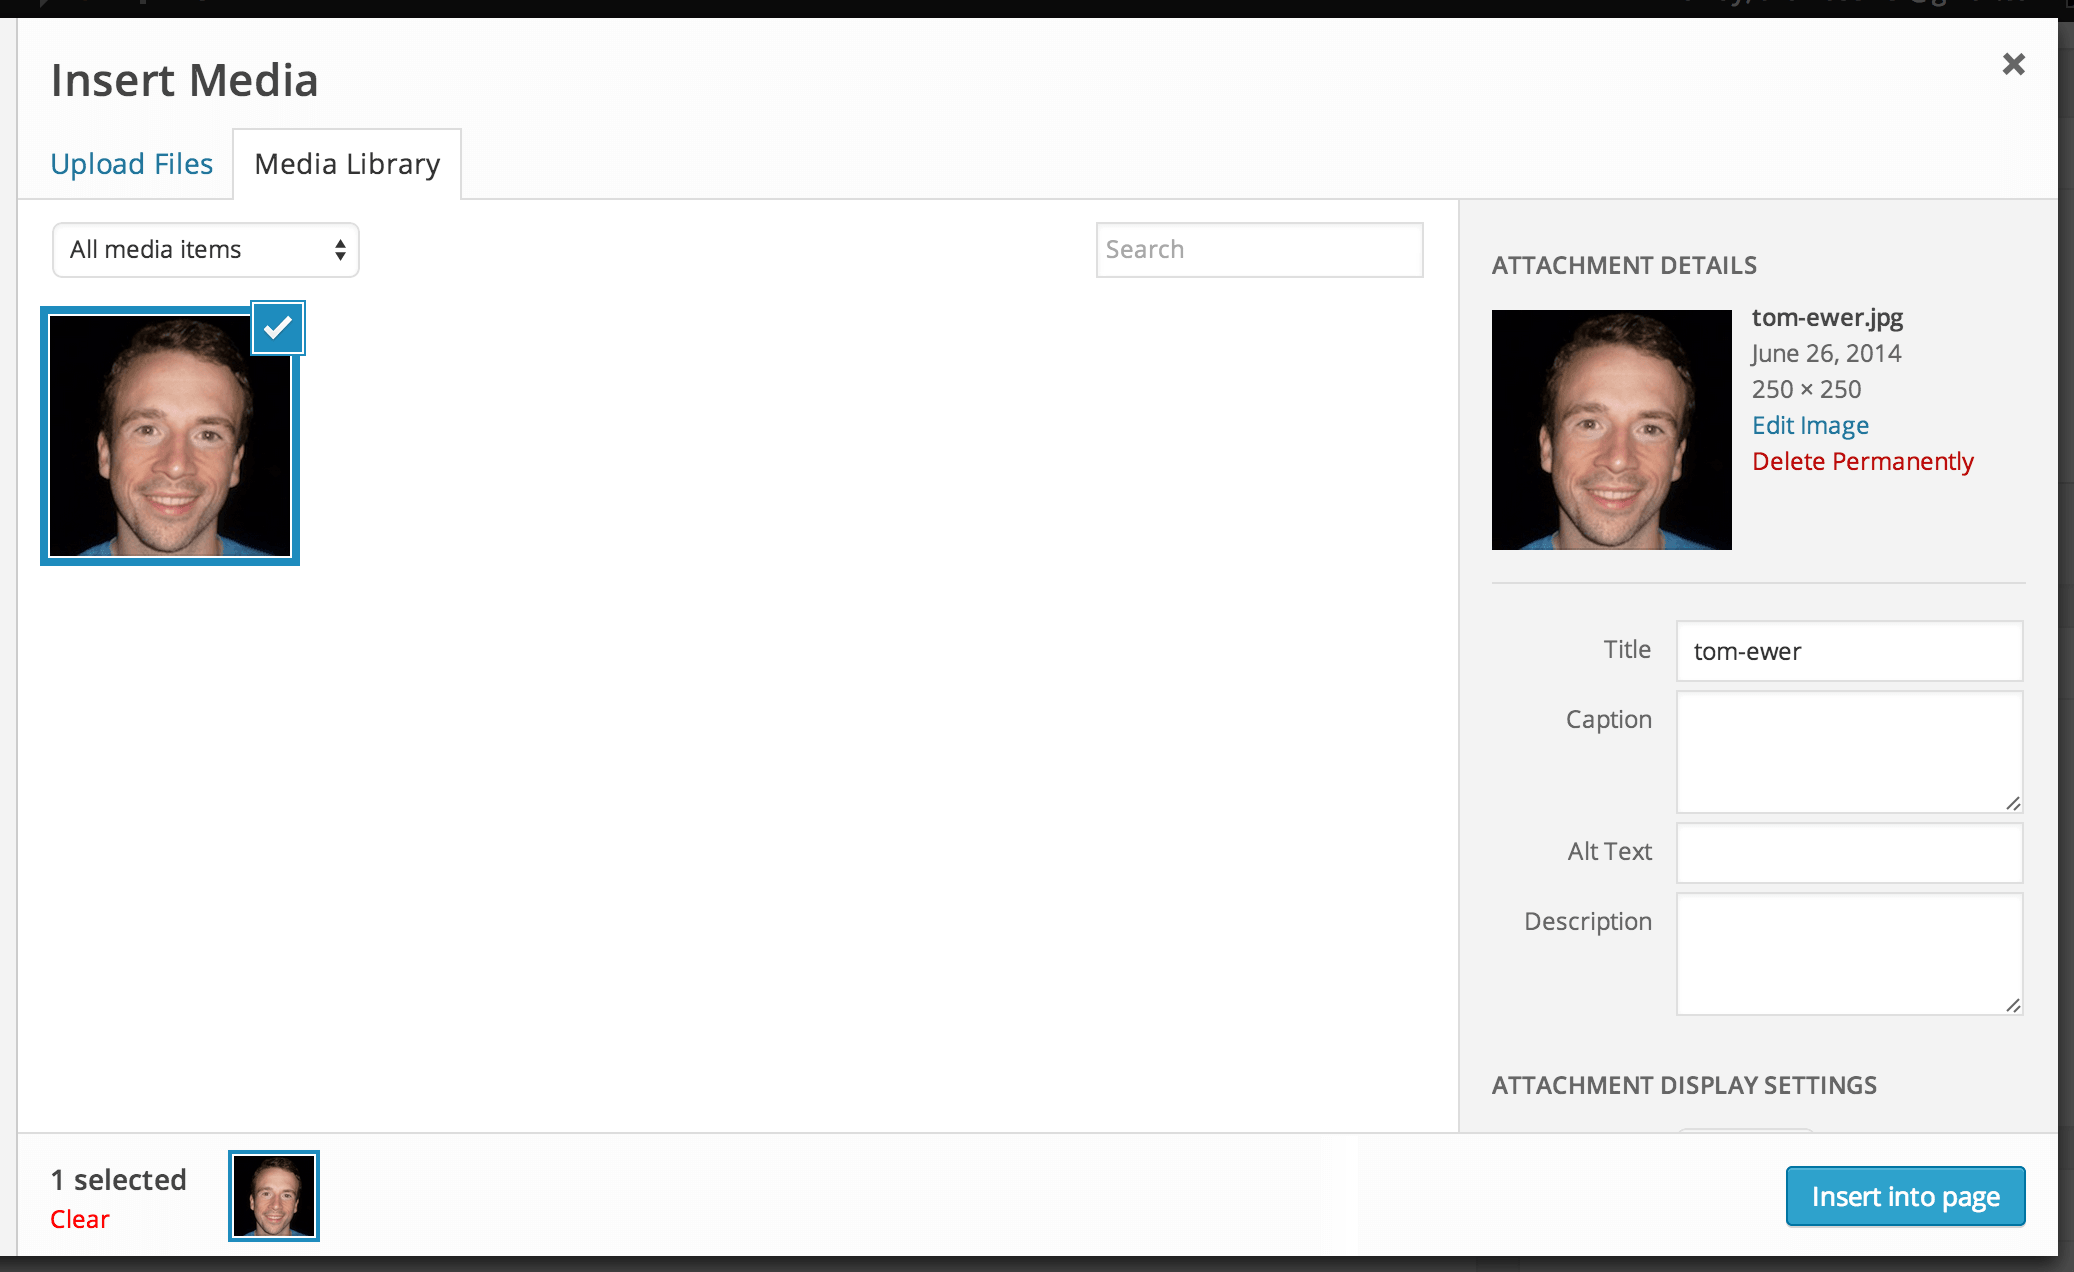
If you already have an image uploaded to WordPress, you can add that image to a blog post by selecting the “Media Library” option instead of the “Upload Files” option. Follow these steps:
- Click the Add Media button.
- WordPress will open to your Media Library automatically. You can scroll down to find the image you want or type a word or phrase into the Search box in the upper right corner of the popup.
- After finding the image you want to use, hover the mouse over that image and click it.
- Change the Title and add an Alt Text.
- Add a caption if you want it.
- Align the photo and select its link-to location.
- Choose your size and click “Insert into post.”
Insert an Image From a URL
The final method for inserting images into your blog posts involves inserting the image from an URL.
This method works well if you want to use an image on another website that you own and the image is already published. Follow these steps to insert an image into a WordPress post from another Web page:
- Click the Add Media button.
- On the left sidebar of the popup box, click the “Insert from URL” link.
- Open a new tab in your browser and go to the URL where the image is located. Right click on the image you want to publish in your blog post and select “Copy image URL.” Paste that URL in the top box.
- WordPress will pull the image in from that URL. Write a caption, if you want one, and an Alt Text.
- Align the image and select your link-to location.
- Click the “Insert into post” button.
Edit, Crop, and Publish: Adding Images As Easy As ABC
Adding images to your WordPress blog posts is not hard at all; the most difficult part of the process may be the editing part.
You can do that in Photoshop or another photo editing app before you add your images to WordPress, but WordPress also gives you an easy way to edit images as you are publishing them. After clicking the “Add Media” button and selecting your image, you can click the “Edit Image” link beside the image preview on the right side of your browser screen.
WordPress makes it really easy to edit your photos. You can change the dimensions using the Scale Image feature on the right side of the screen. Just change the width (the number in the first box) and the height will change automatically to keep your image proportional.
On the left side of the screen, you can flip your image and crop it to meet your specifications. Don’t forget to save your new image after editing it or your changes will be lost.
That’s all there is to it! Now you know everything you need to know about adding and editing images in WordPress.