BackupBuddy is a fantastic commercial WordPress plugin that makes creating and restoring backups easy as can be. While it’s a great all-around backup plugin, it’s also indispensable as a tool for moving WordPress sites.
This is article 5 of 7 in a series on Migrating WordPress sites.
When We Move WordPress Using BackupBuddy
Honestly, BackupBuddy is so easy and robust that we tend to use it anytime we are moving sites from one host to another.
Some great things about BackupBuddy are:
- It works quickly, so you can have a site up-and-running usually within minutes.
- It’s stable. We’ve used this plugin for a few years and it’s quite robust and stable.
- It makes it easy to backup either database only, or the full site, including WordPress, plugins and themes.
So, for these reasons alone, it’s an excellent choice for many WordPress site moves.
We tend not to use BackupBuddy when we’re launching code that is version-controlled in one of our Git repos. In those cases, we like to deploy files from our Git repo via FTP or SSH and then use Migrate DB Pro to sync databases.
Migrate Sites using BackupBuddy
On the Source server
- Install BackupBuddy on the source site you’d like to move.
- License the plugin.
- Go to BackupBuddy > Settings to make sure you’re backing up only what you need.
- Go to BackupBuddy > Backup and create a full backup
- Go to BackupBuddy > Restore/Migrate and click the button to download the
importbuddy.phpfile. It’ll ask if you’d like to assign a password, so enter a password and make a note of it and continue.

On the Target server
- Using FTP, SSH, or your hosting file manager, copy both the BackupBuddy backup file and the importbuddy.php script to your target server in the root of the domain’s web directory.
- Check DNS settings. Is the domain pointing to the target server yet? If not, you’ll want to try the hosts file trick.
- Once you’ve got DNS resolving correctly, open a browser and visit the target domain, including the path to the importbuddy.php script. (ex. http://myniftydomain.com/importbuddy.php)

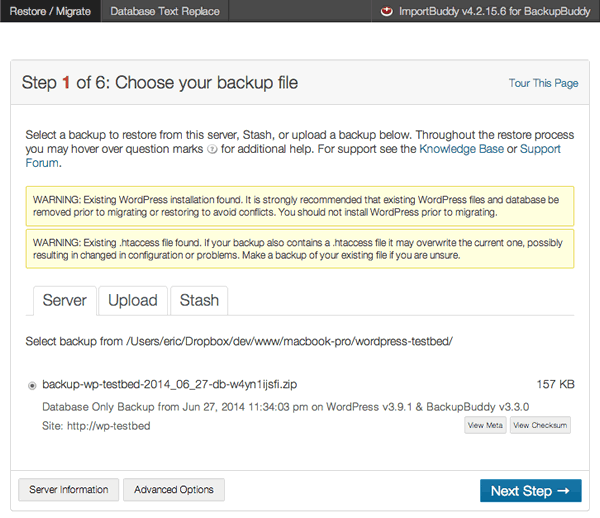
- BackupBuddy will now walk you through a six-step wizard that will unzip and importing the data into the new hosting account. It’ll also take care of all serialized data in meta and options.
- If all goes well, you’ll get to the confirmation page that will provide a link to the new site. Click around and make sure everything’s working.
- If things seem broken, troubleshoot.
- Once everything’s working and tested, proceed with the last step in the BackupBuddy wizard, in which BackupBuddy will clean-up after itself, removing the zip and
importbuddy.phpfiles, along with other files created during the import.
Video Tutorial
iThemes has posted a great video entitled How to Manually migrate a Site with BackupBuddy.


